Your cart is currently empty!
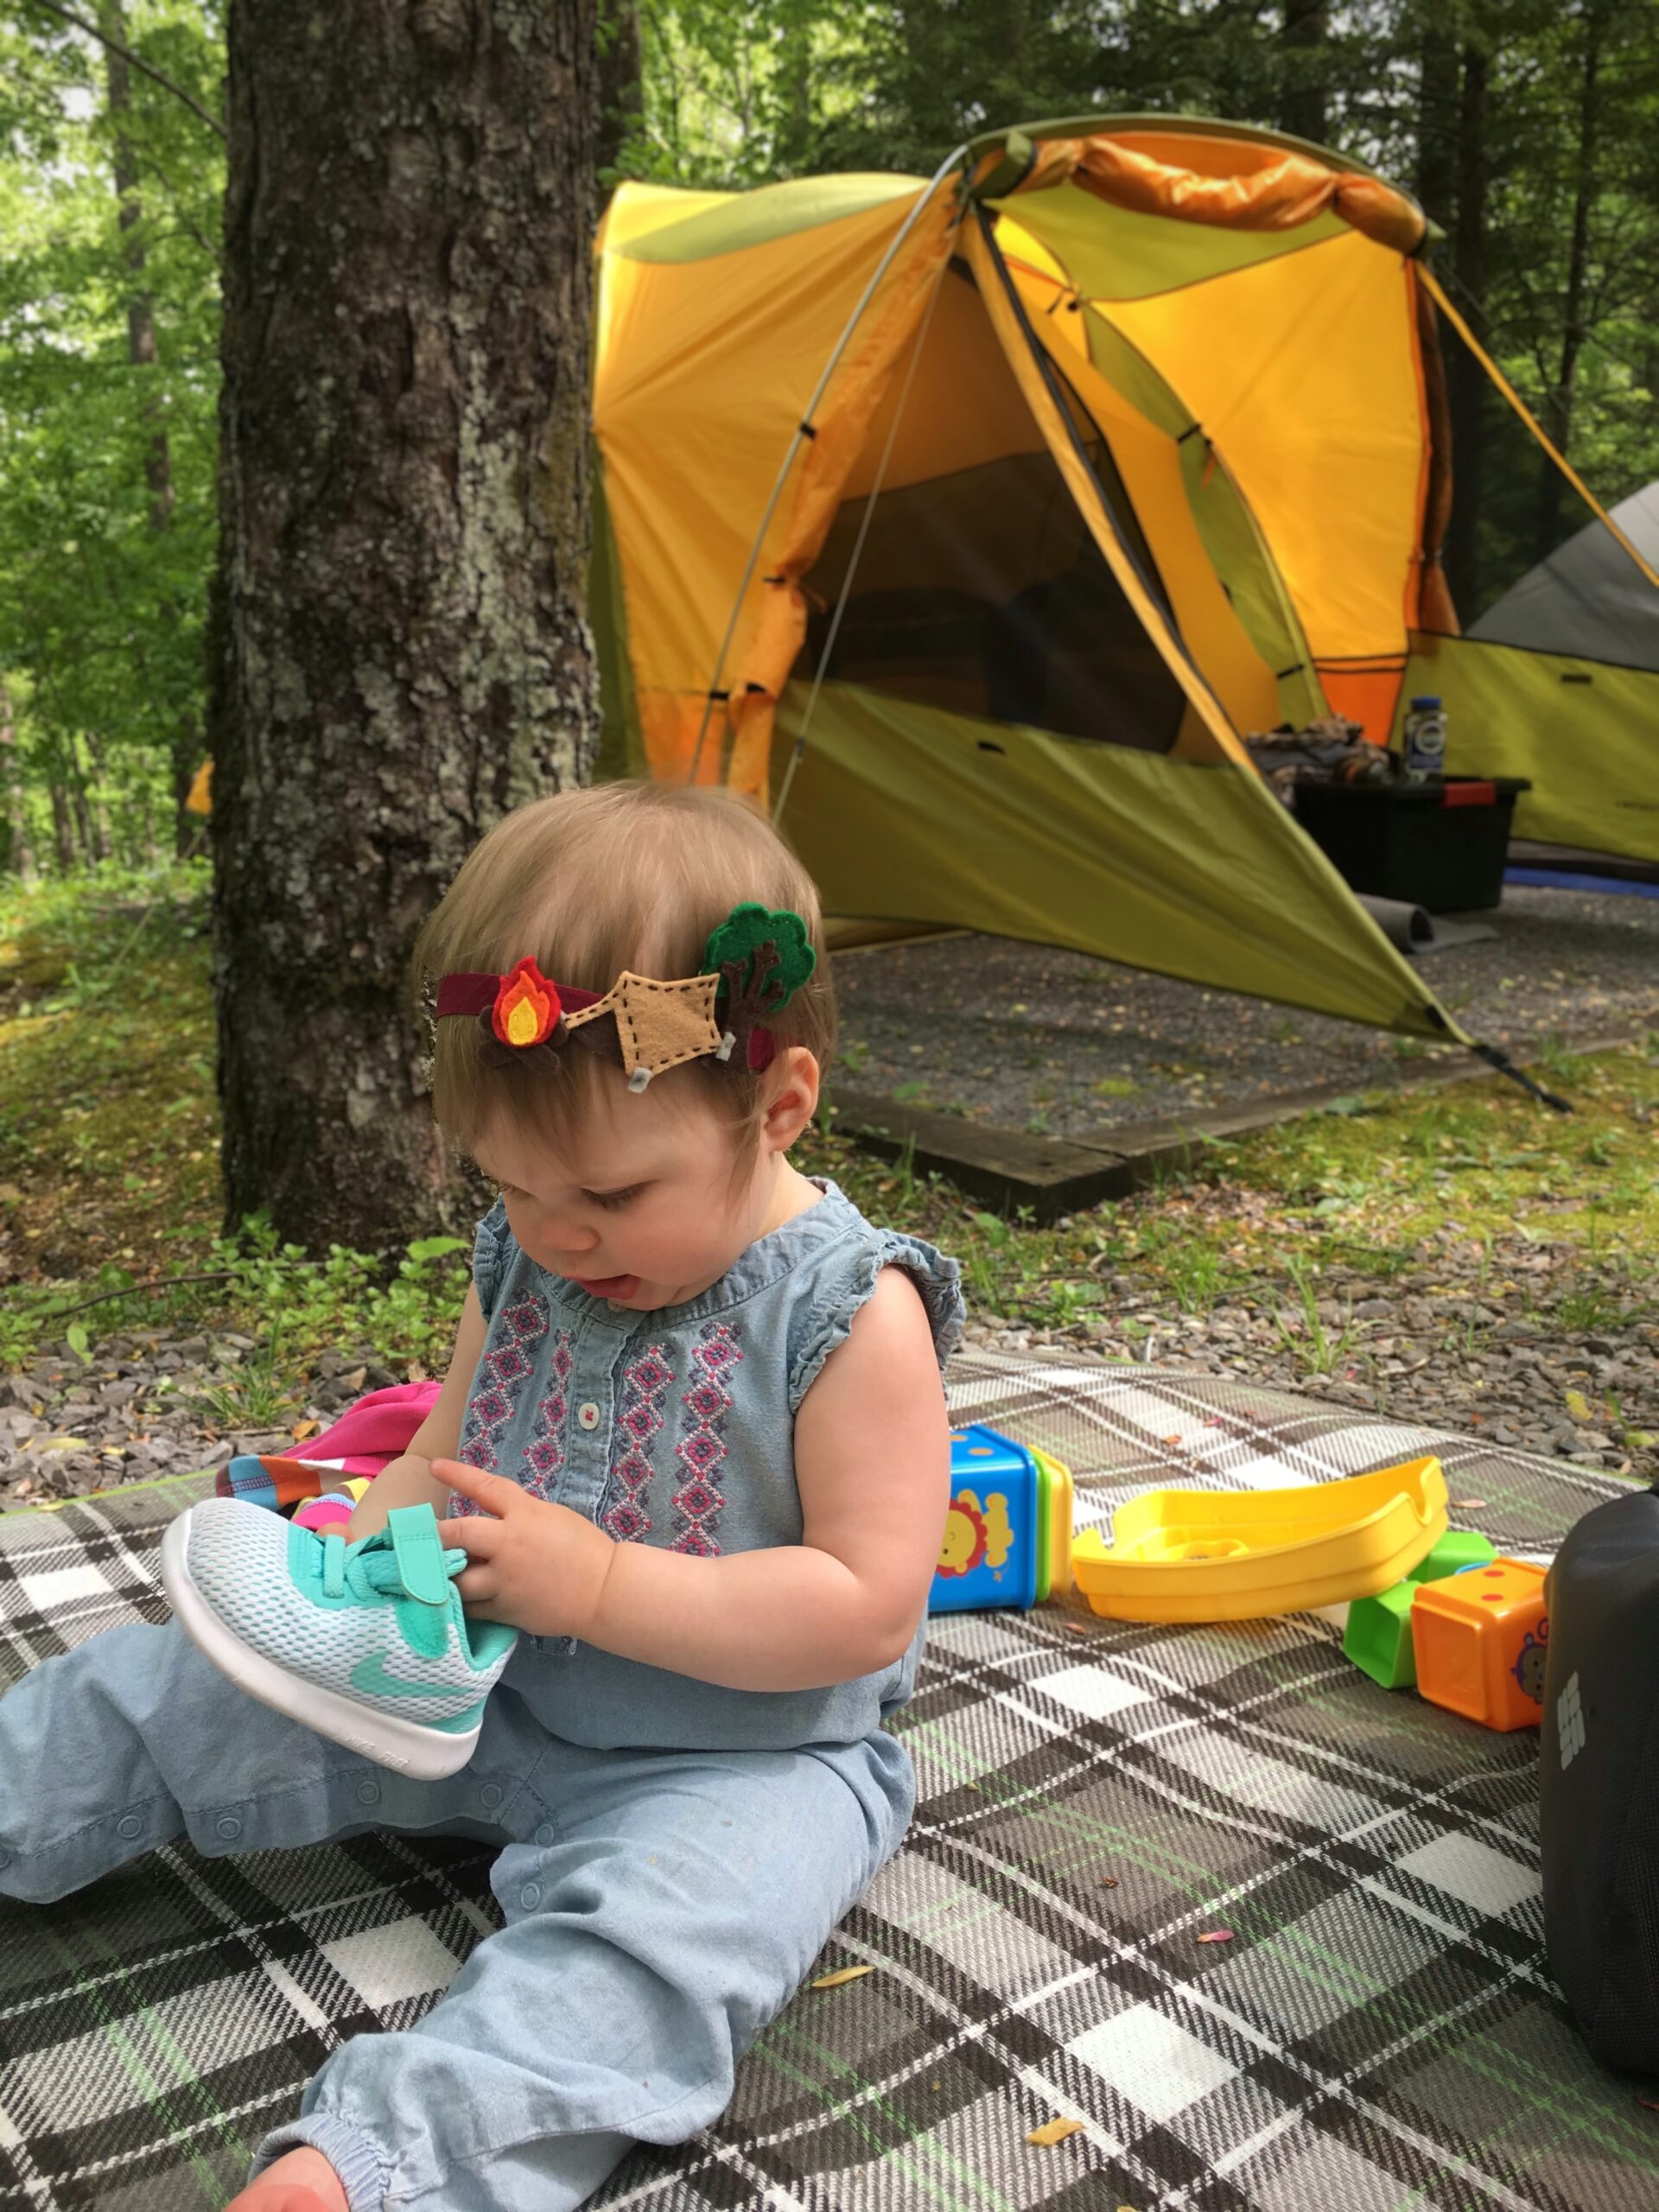
When Adelaide was young, I was obsessed with making her headbands. For one of our Smoky Mountain trips, I decided to create a camping-themed headband to match our adventure.
Materials needed:
Felt in various colors (green, brown, red, yellow, orange, gray, black)
Embroidery thread or sewing thread (Green, brown, orange, yellow, gray, red, and black)
Scissors
Headband elastic
Directions: Print out the template below of the fire, tree, and tent. Cut the disassembled versions out and pin to corresponding color felt. Cutting around the paper template – cut the shapes out of the felt. (The dotted red line on the tent will be where the tent should be embroidered, it should not be cut)
For the campfire: Using orange thread, sew the orange flame to the yellow flame piece. Using yellow thread, sew the yellow flame piece to the red flame piece. Use brown thread to sew the two logs together. Using red thread, sew the entire flame bundle to the log pieces.
For the tent – Layer the brown piece on top of the black piece. Using embroidery thread stitch the two pieces together along the outer borders and down the red dotted line. Attach the text stakes with grey thread or embroidery thread.
For the tree – Using brown embroidery thread attach the trunk to the leaves. For a more stable feel for the tree, cut two green pieces out and sew them together and two trunk pieces out and sew them together. Use embroidery thread to attach the trunk to the leaves.
Headband assembly: Measure length of elastic needed around subject’s head. Subtract about one inch from the total circumference. Sew ends together by overlapping about 1/2″ of the elastic material. Sew the appliques onto the headband in the desired configuration.

Generic headband sizes:
0-3 months old – 12″
3-6 months – 14″
6-12 months 14-16″
1-3 years 16-18″
3-12 years 18-20″
12+ years 20-22″
Voila – fun camping-themed accessory


